Basement waterproofing in Burlington became a priority for many owners after the August 2014 storm, when parts of the city received close to 200 millimetres of rain in a few hours and thousands of basements took on water. Storms like that are rare, but heavy downpours are becoming more frequent, and the same weak points that let water in during the big storm let it in, more quietly, every spring. The good news is that most Burlington basements can be protected with a clear plan: find where the water comes from, fix the outside first, then choose the right repair for the walls and the drains.
TGV Construction Group Inc. is a licensed and insured contractor that has completed more than 300 projects across the GTA and Ontario since 2017. We handle leak repairs, drainage, basement finishing afterwards and water damage restoration when water has already come in.
Why Burlington basements leak
Heavy rain and overloaded sewers. In older parts of Burlington, near downtown, Aldershot and the lake, some streets have sewer systems that struggle in intense rain. When the sewer fills, water can come up through the basement floor drain. This is a backup, not a leak in the wall.
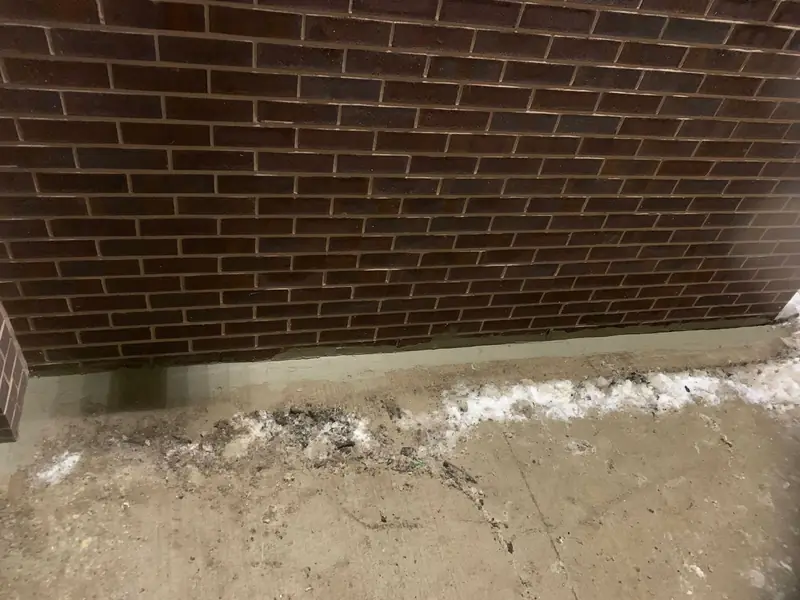
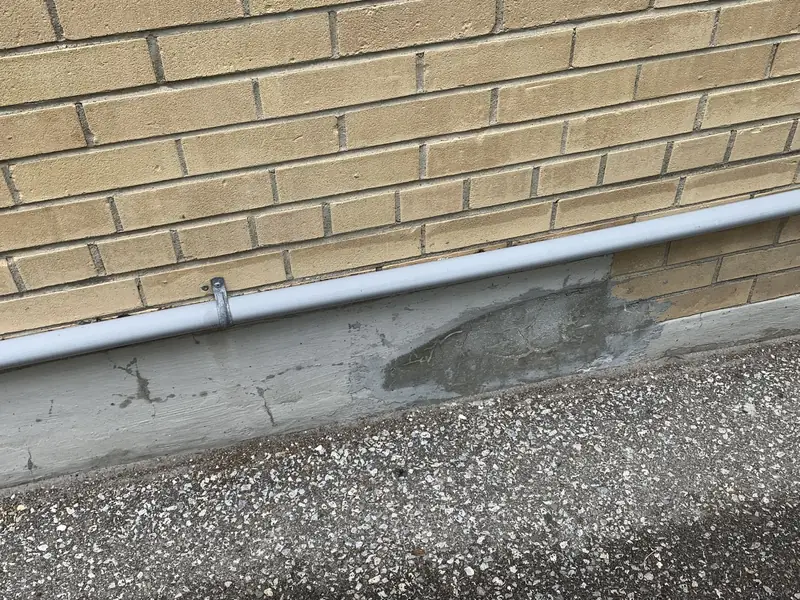
Water against the foundation. Eavestroughs that overflow, downspouts that empty next to the wall and soil that has settled toward the house put water right where the basement is weakest.
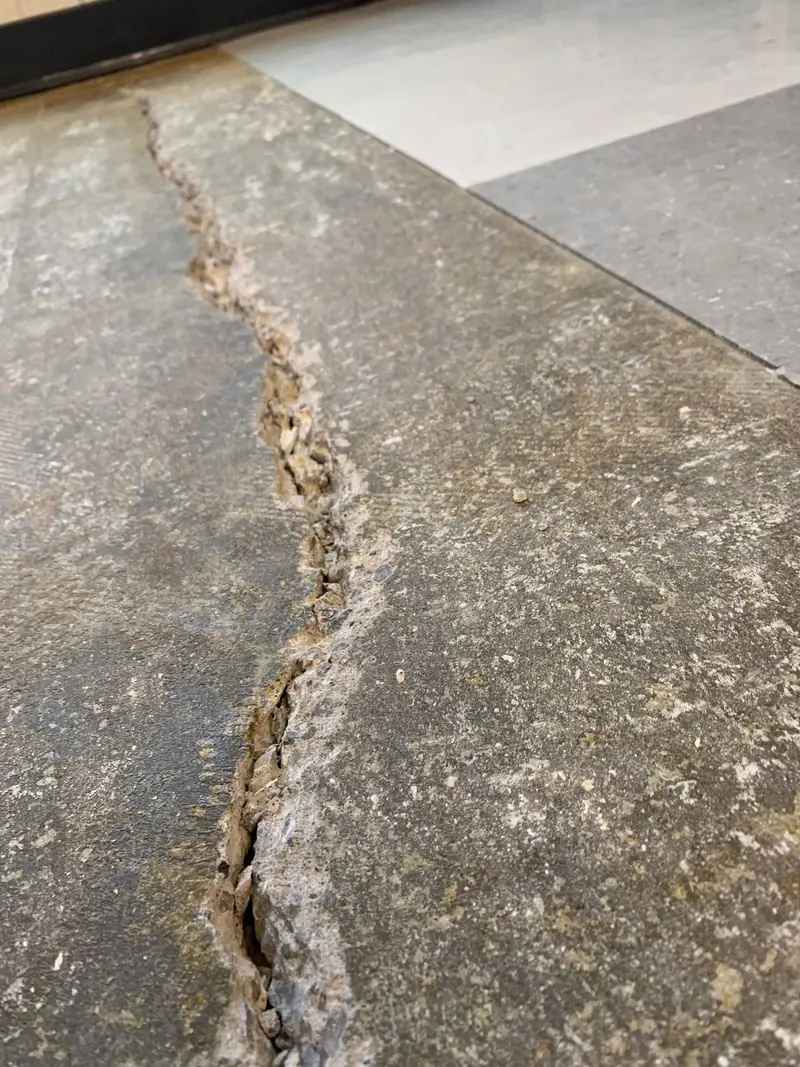
Cracks and joints. Poured concrete walls shrink and crack as they cure; block walls leak through mortar joints. Water also enters at the cove joint, where the floor slab meets the wall.
Window wells and old drain tiles. Wells without a drain or a cover fill like buckets. In houses from the 1960s and 1970s, the original clay weeping tiles around the footing can be crushed or blocked by roots, so they no longer carry water away.
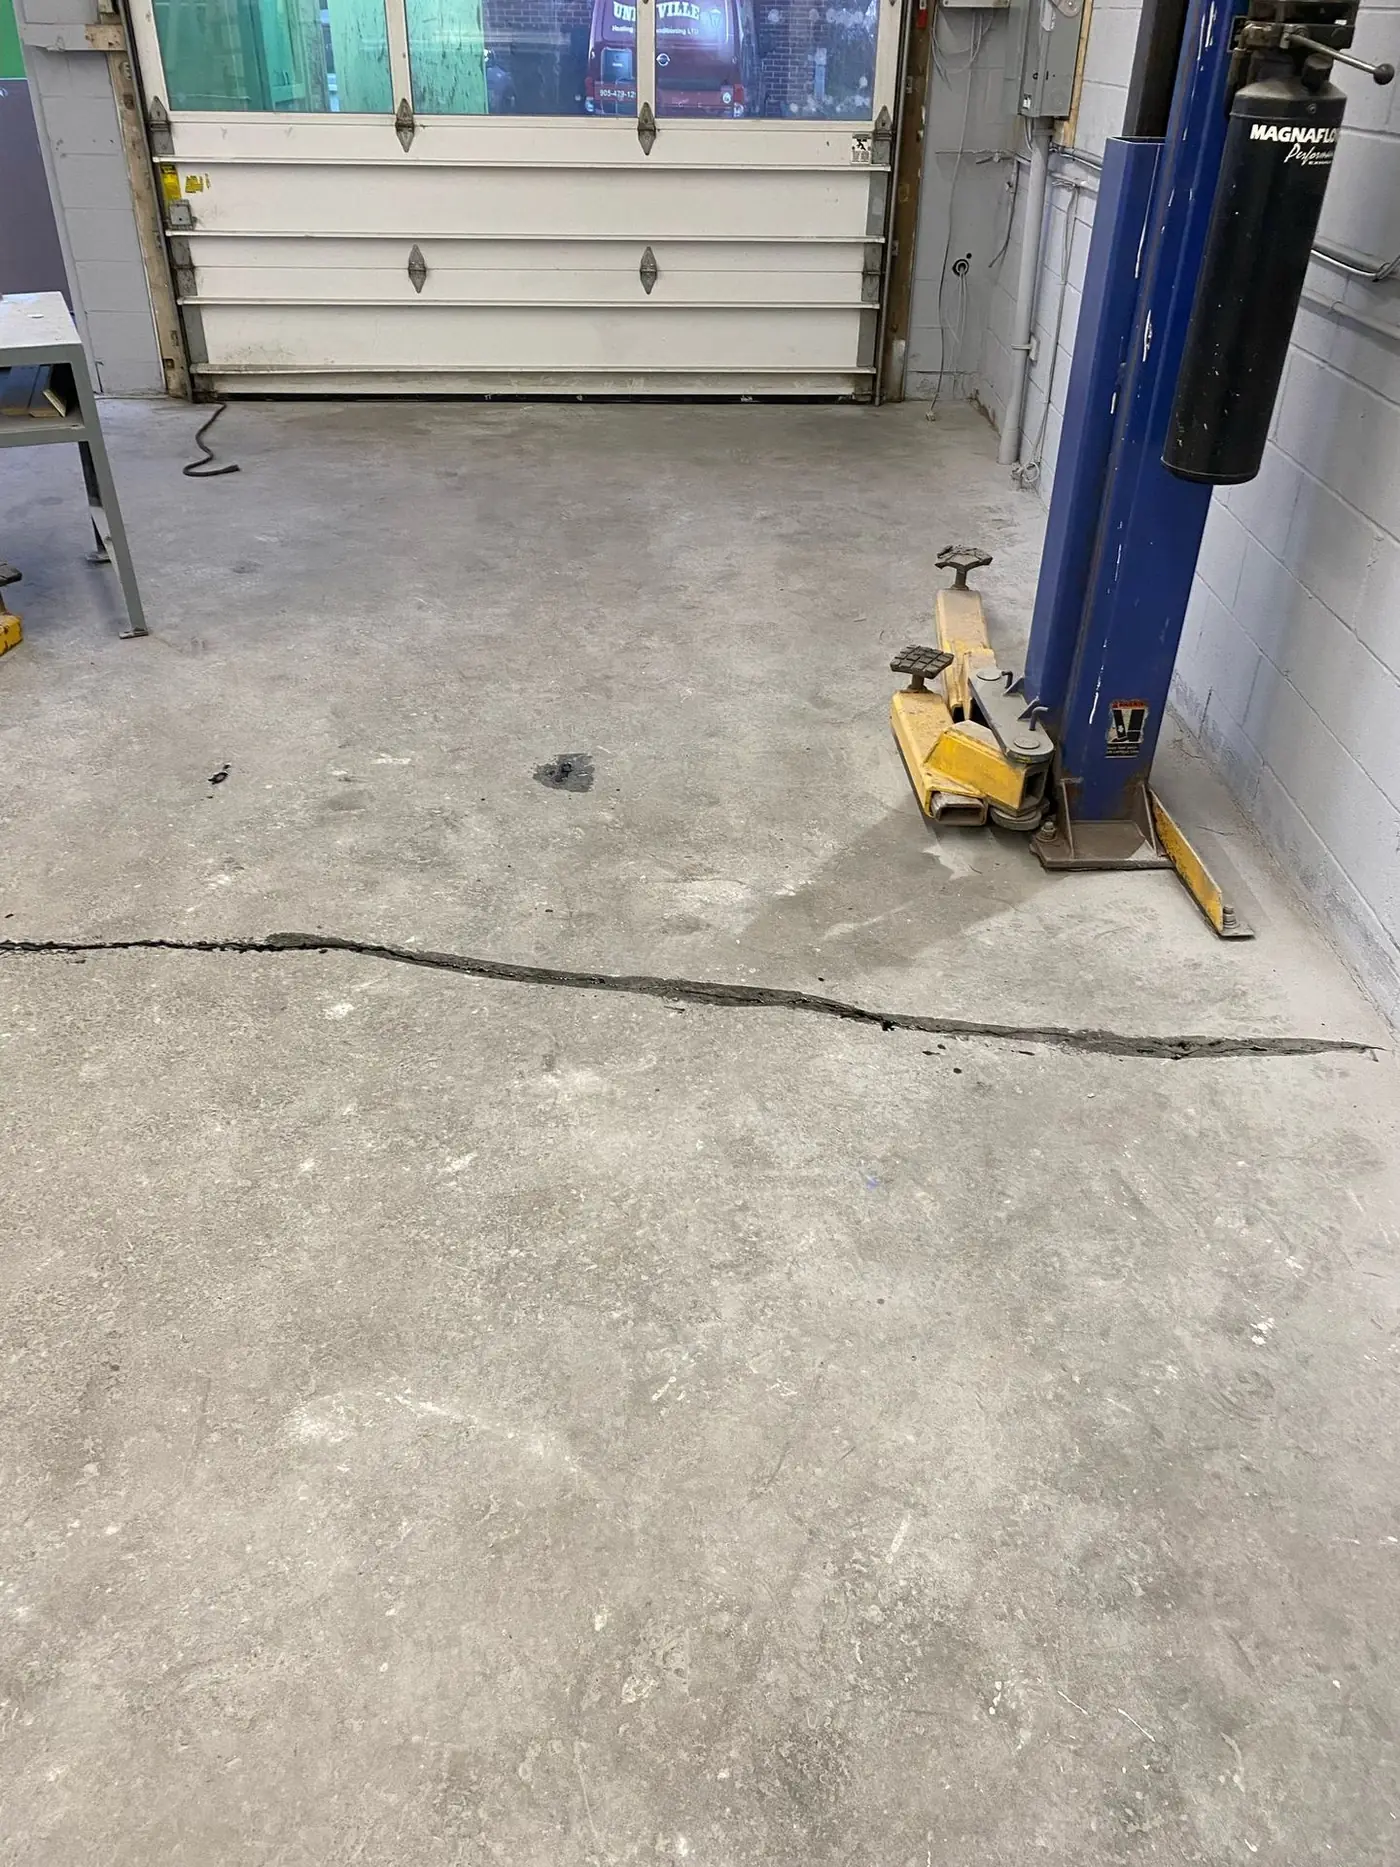
Basement waterproofing in Burlington: the options
Outside work first. Before any digging, the cheapest fixes come first: clean and repair the eavestroughs, extend downspouts, add splash pads, and rebuild the grade so it falls away from the house. In many cases these steps alone stop minor seepage.
Crack injection. Single cracks in poured concrete walls can be injected from inside. The material fills the crack through the full thickness of the wall and stays flexible as the house moves.
Exterior excavation and membrane. The soil is dug down to the footing, the wall is cleaned and repaired, a waterproof membrane and drainage board are applied, and new weeping tile is laid in gravel before backfilling. This is the most complete fix for a wall with several problems.
Interior drainage. Where digging outside is impractical, for example under a deck, a driveway or a neighbour's walkway, a channel is cut in the floor along the wall, a perforated pipe is laid at the footing and water is directed to a sump pit with a pump.
Backwater valve and sump pump. A backwater valve on the main sewer line lets water leave the house but stops it coming back in. A sump pump with a battery backup keeps working when the power goes out in a storm.
Step by step
- Record every leak. Note the date, the weather, where the water appeared and how much. Photos with a date help the contractor and the insurer.
- Separate the two kinds of water. Water through the walls or floor is seepage; water coming up the floor drain is a sewer backup. They have different fixes.
- Fix the outside first. Clean the eavestroughs, extend downspouts at least two metres from the house and regrade soil that slopes toward the walls.
- Book an inspection. A contractor checks the walls, the cracks, the window wells, the floor drain and the sump if there is one.
- Choose interior or exterior work. Exterior excavation seals the wall from outside; an interior drainage system collects water at the footing and sends it to a sump.
- Add backflow protection. A backwater valve on the main drain stops sewage from flowing back into the basement during a storm.
- Check for subsidies. Ask Halton Region and the City of Burlington which flood-protection programs are open before the work starts.
- Finish only when it is dry. Leave the basement through at least one wet season before installing new drywall and flooring.
When water has already come in
If the basement is wet now, safety comes first: stay away from water near outlets or the panel, and call your insurer. Water should be removed quickly, wet drywall and insulation cut out and the space dried with air movers and dehumidifiers before anything is closed up again. Mould starts growing on wet materials within a day or two, so speed matters. Our guide to what to do in a flooded basement covers the first hours.
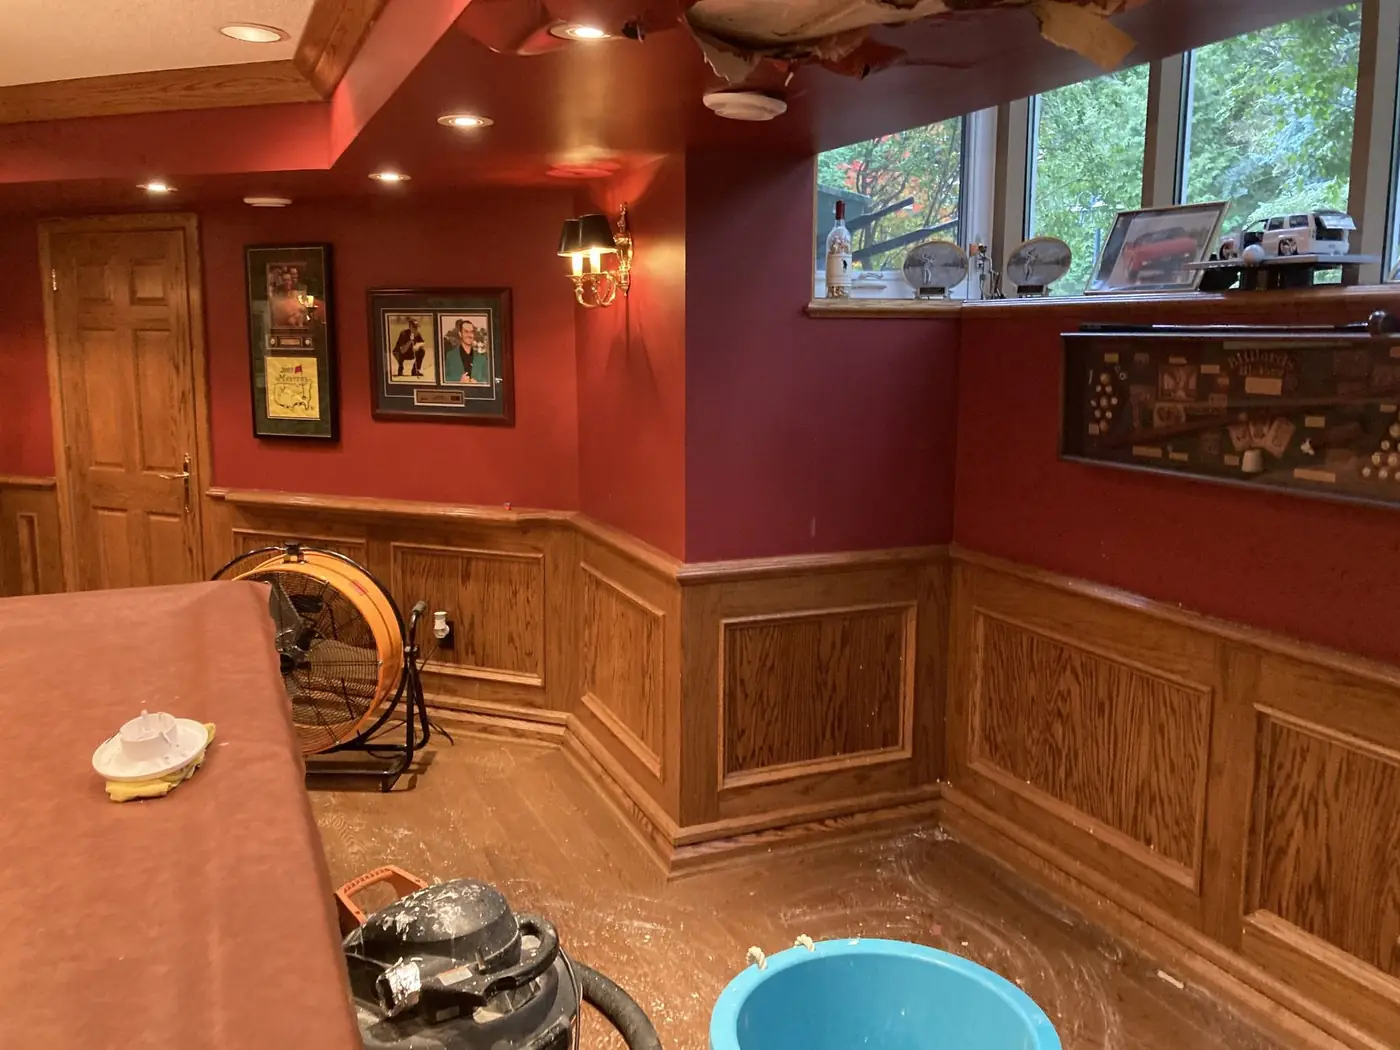
Finishing the basement after waterproofing
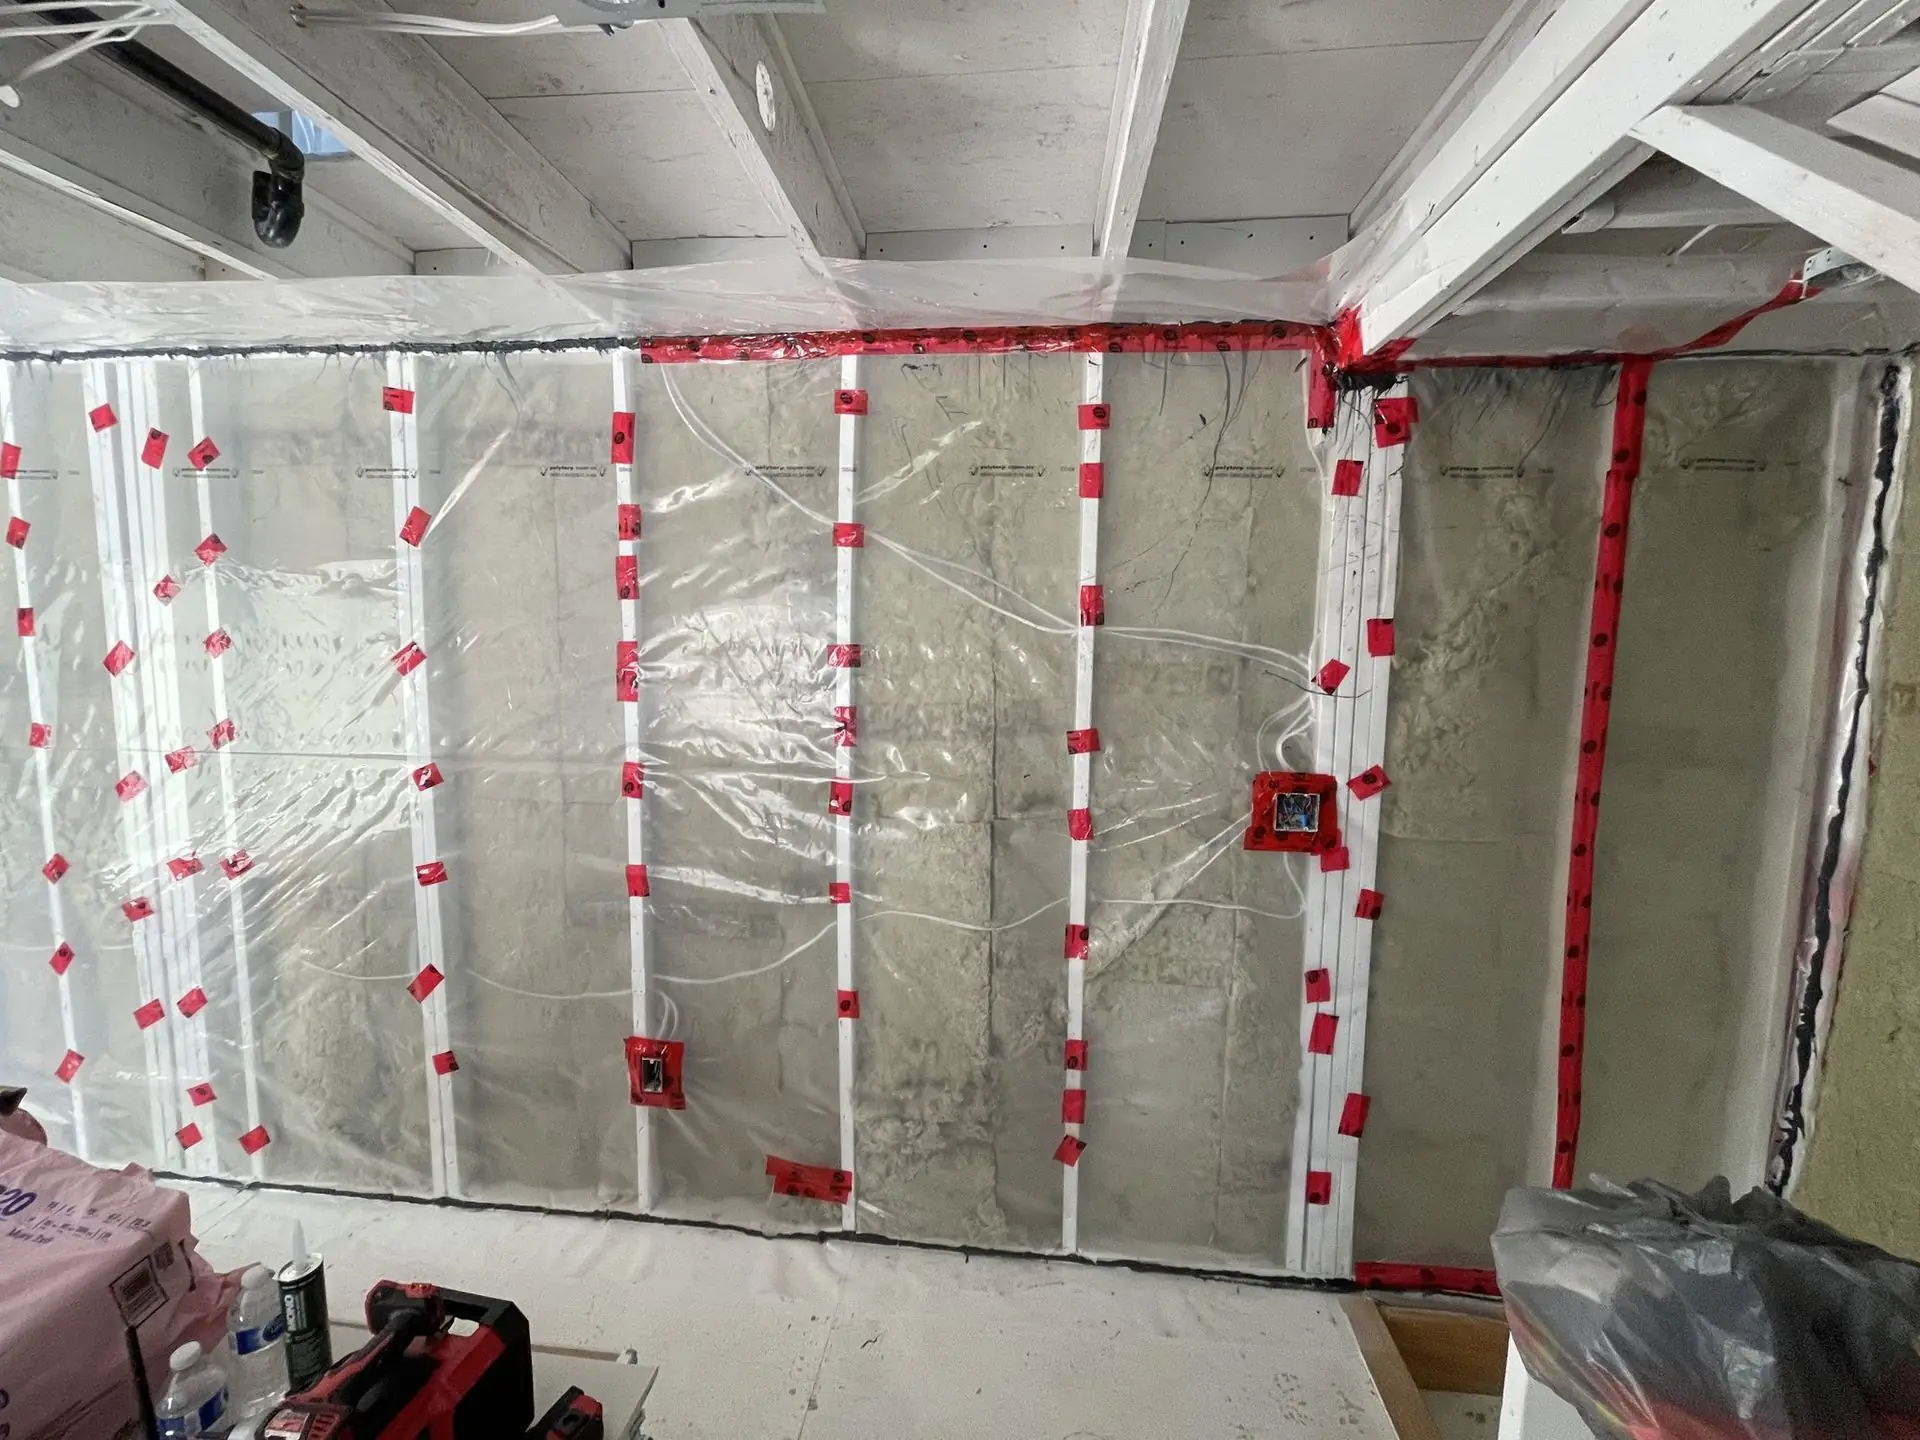
A dry basement is the right moment to plan the finished space. We frame walls slightly away from the foundation, use insulation and vapour control suited to below-grade walls, choose flooring that tolerates moisture, such as vinyl plank or porcelain tile, and leave access to the sump and the backwater valve. Our Burlington basement renovation guide covers the rest of the project.
Insurance and subsidies
Home insurance policies treat seepage, sewer backup and overland flooding differently, and many only cover backups if a specific endorsement was added. Read your policy before you need it. Halton Region and the City of Burlington have offered programs over the years to help with flood-protection work such as backwater valves, sump pumps and downspout disconnection. The rules and amounts change, so we recommend checking what is open before the work is booked, because most programs need approval or a permit first.
Keeping the system working
Waterproofing is not a one-time job that can be forgotten. A few minutes of upkeep each season keeps it working. Clean the eavestroughs in late fall and spring. Check that downspout extensions have not been moved by a lawnmower or snow shovel. Pour a bucket of water into the sump pit twice a year to confirm the pump starts and the discharge line is clear, and replace the backup battery as the maker recommends. Open the backwater valve's access cap once a year to make sure the flap moves freely. Watch the walls after the first heavy rain of the season. Small changes, caught early, cost little to fix.
Basement waterproofing in Burlington: frequently asked questions
Is interior or exterior basement waterproofing better?
Exterior waterproofing stops water at the wall and suits walls with many leaks or a planned new finish outside. Interior drainage is less disruptive to gardens, driveways and decks and handles water at the footing. The right choice depends on the wall, the soil and what is built around the house.
Why did my basement only flood during the big storm?
In an extreme storm, the sewers and the ground both overload. Water can rise through the floor drain from the sewer, or groundwater can push through the slab and the joint where the floor meets the wall. A backwater valve and a working sump cover these two routes.
Can a single crack be repaired without excavating?
Often, yes. A crack in a poured concrete wall can usually be injected from inside with polyurethane or epoxy. Block walls and many cracks together usually need a wider solution.
Do I need a permit for a backwater valve?
Yes. Installing a backwater valve on the main drain needs a plumbing permit, and subsidy programs usually require it.
How long does exterior waterproofing take?
One wall typically takes a few days, weather permitting. A full perimeter takes longer and depends on access, decks, walkways and the depth of the foundation.
Book an inspection
We look at the walls, the floor, the drains and the outside of the house, explain where the water is coming from and send a written quote with the repair we recommend.
Phone (365) 363-6995, email estimating@tgvconstructiongroup.ca, or tell us about your basement on the Get a Quote page.
Related reading: how interior basement waterproofing works, basement waterproofing in Oakville and kitchen renovation costs in Burlington.