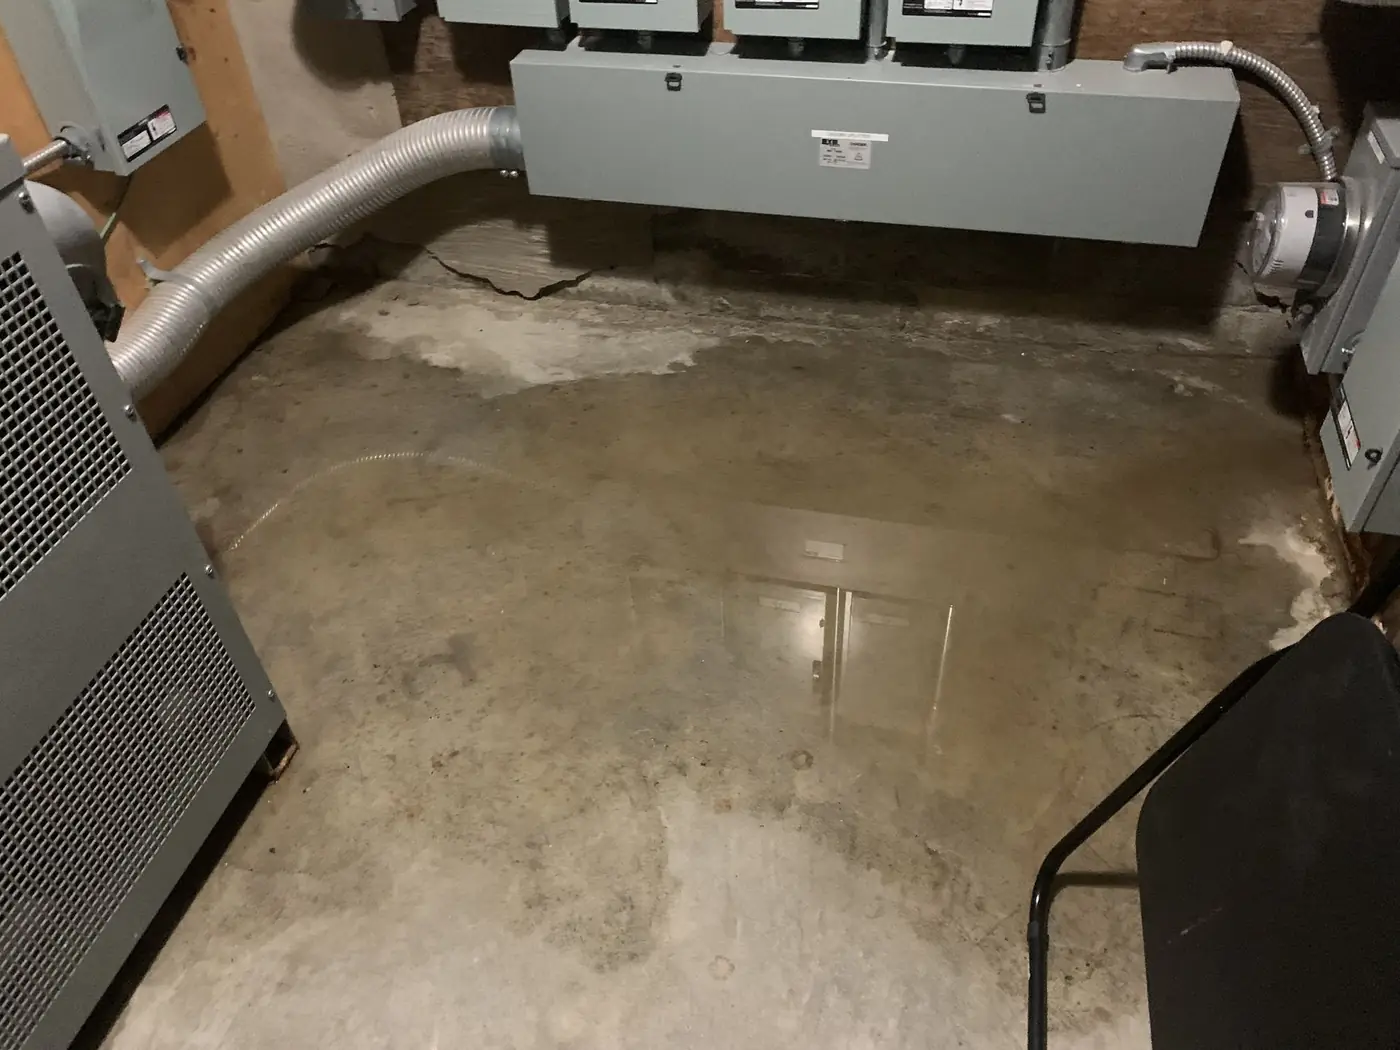
Interior basement waterproofing is a way to keep a basement dry by managing water from the inside, instead of digging around the house. A drain is placed at the footing along the inside of the foundation wall, a membrane on the wall guides any water down into that drain, and the water is carried to a sump pit where a pump sends it outside. It does not stop water from reaching the concrete; it stops water from reaching your room. Used for the right problem, it is effective and less disruptive than excavation. Used for the wrong one, it is money spent on a symptom.
TGV Construction Group Inc. has completed more than 300 projects in the GTA and Ontario since 2017, including water damage restoration and basement renovations. If a basement is wet right now, start with water damage restoration; this guide is for deciding how to stop the water for good.
The parts of an interior system
Perimeter drain. A perforated pipe in clean stone, set beside the footing below the floor. It collects water that seeps through the wall, comes up at the joint between the wall and the floor, or rises under the slab.
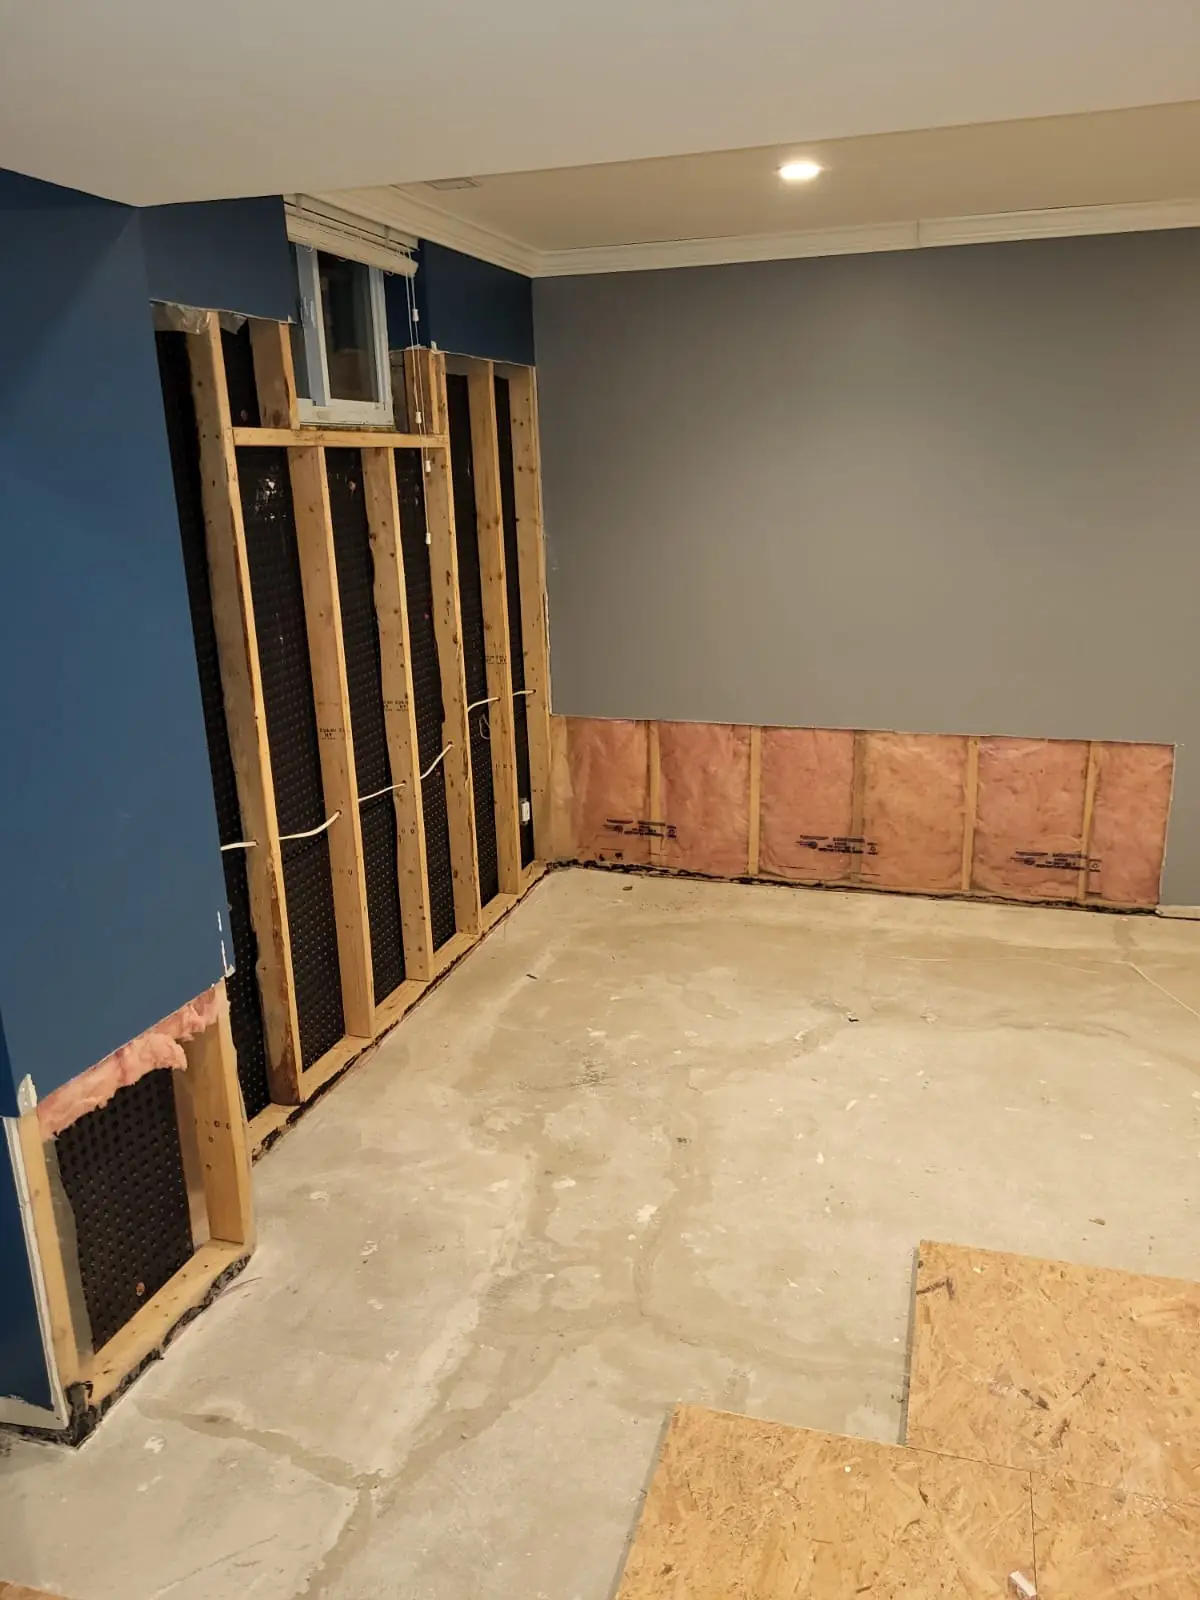
Wall membrane. A dimpled plastic sheet fastened to the foundation wall. Water that comes through the concrete runs down the dimples, behind the membrane, into the drain. It also keeps damp concrete from touching the new wall finish.
Sump pit and pump. A lidded liner set in the floor collects the water. A pump with a float switch sends it through a discharge line with a check valve to the outside, away from the foundation.
Backup power. Storms that bring the most water also cut power. A battery backup pump or a second pump keeps the system working.
When interior basement waterproofing is the right choice
- The outside cannot be dug. A driveway, an attached garage, a neighbour's wall on a narrow lot, a large deck or a pool along the leaking wall.
- Water comes up at the floor joint. Water rising where the floor meets the wall, or through the slab, is often ground water that an inside drain handles well.
- The weeping tile has failed and replacing it outside is impractical. The inside drain takes over its job.
- Block foundations. Water in the hollow cores drains down behind the membrane instead of soaking the wall finish.
- Townhouses and semis. Shared walls and small yards make exterior work hard.
When it is not enough
- Surface water aimed at the house. Short downspouts and soil sloping toward the wall should be fixed outside first; it is cheaper and reduces the water the system has to handle.
- Sewer backup. Water coming up the floor drain during storms needs a backwater valve.
- A bowing or moving wall. That is structural and needs repair, sometimes with underpinning or bracing, before any waterproofing.
- Heavy leaks through one crack. The crack itself should be sealed through the wall; the drain should not be the only defence.
How the system is installed
- Clear the work area. Finished walls, flooring and stored items are removed along the walls that will get the system, and the floor is protected from dust.
- Cut the floor. A strip of the slab is cut and removed along the inside of the foundation wall, down to the footing.
- Clean the footing area. Soil and debris are removed so the new drain sits at the right level beside the footing.
- Lay the drain. A perforated pipe goes into a bed of clean stone with a slope toward the sump location.
- Install the wall membrane. A dimpled plastic membrane is fastened to the wall and lapped into the drain channel, so water from the wall runs down behind it into the pipe.
- Seal openings and cracks. Visible cracks, tie-rod holes and openings are sealed from inside before or as the membrane goes on.
- Set the sump pit. A lidded sump liner is set into the floor where the drain ends.
- Install the pump and discharge. Our licensed plumbing partners install the pump, a check valve and a discharge line that releases the water away from the house.
- Pour the floor back. The trench is filled with stone and the slab is patched to finished level.
- Test and rebuild. The system is tested with water, and the walls are rebuilt with moisture-tolerant materials.
Interior or exterior: a quick comparison
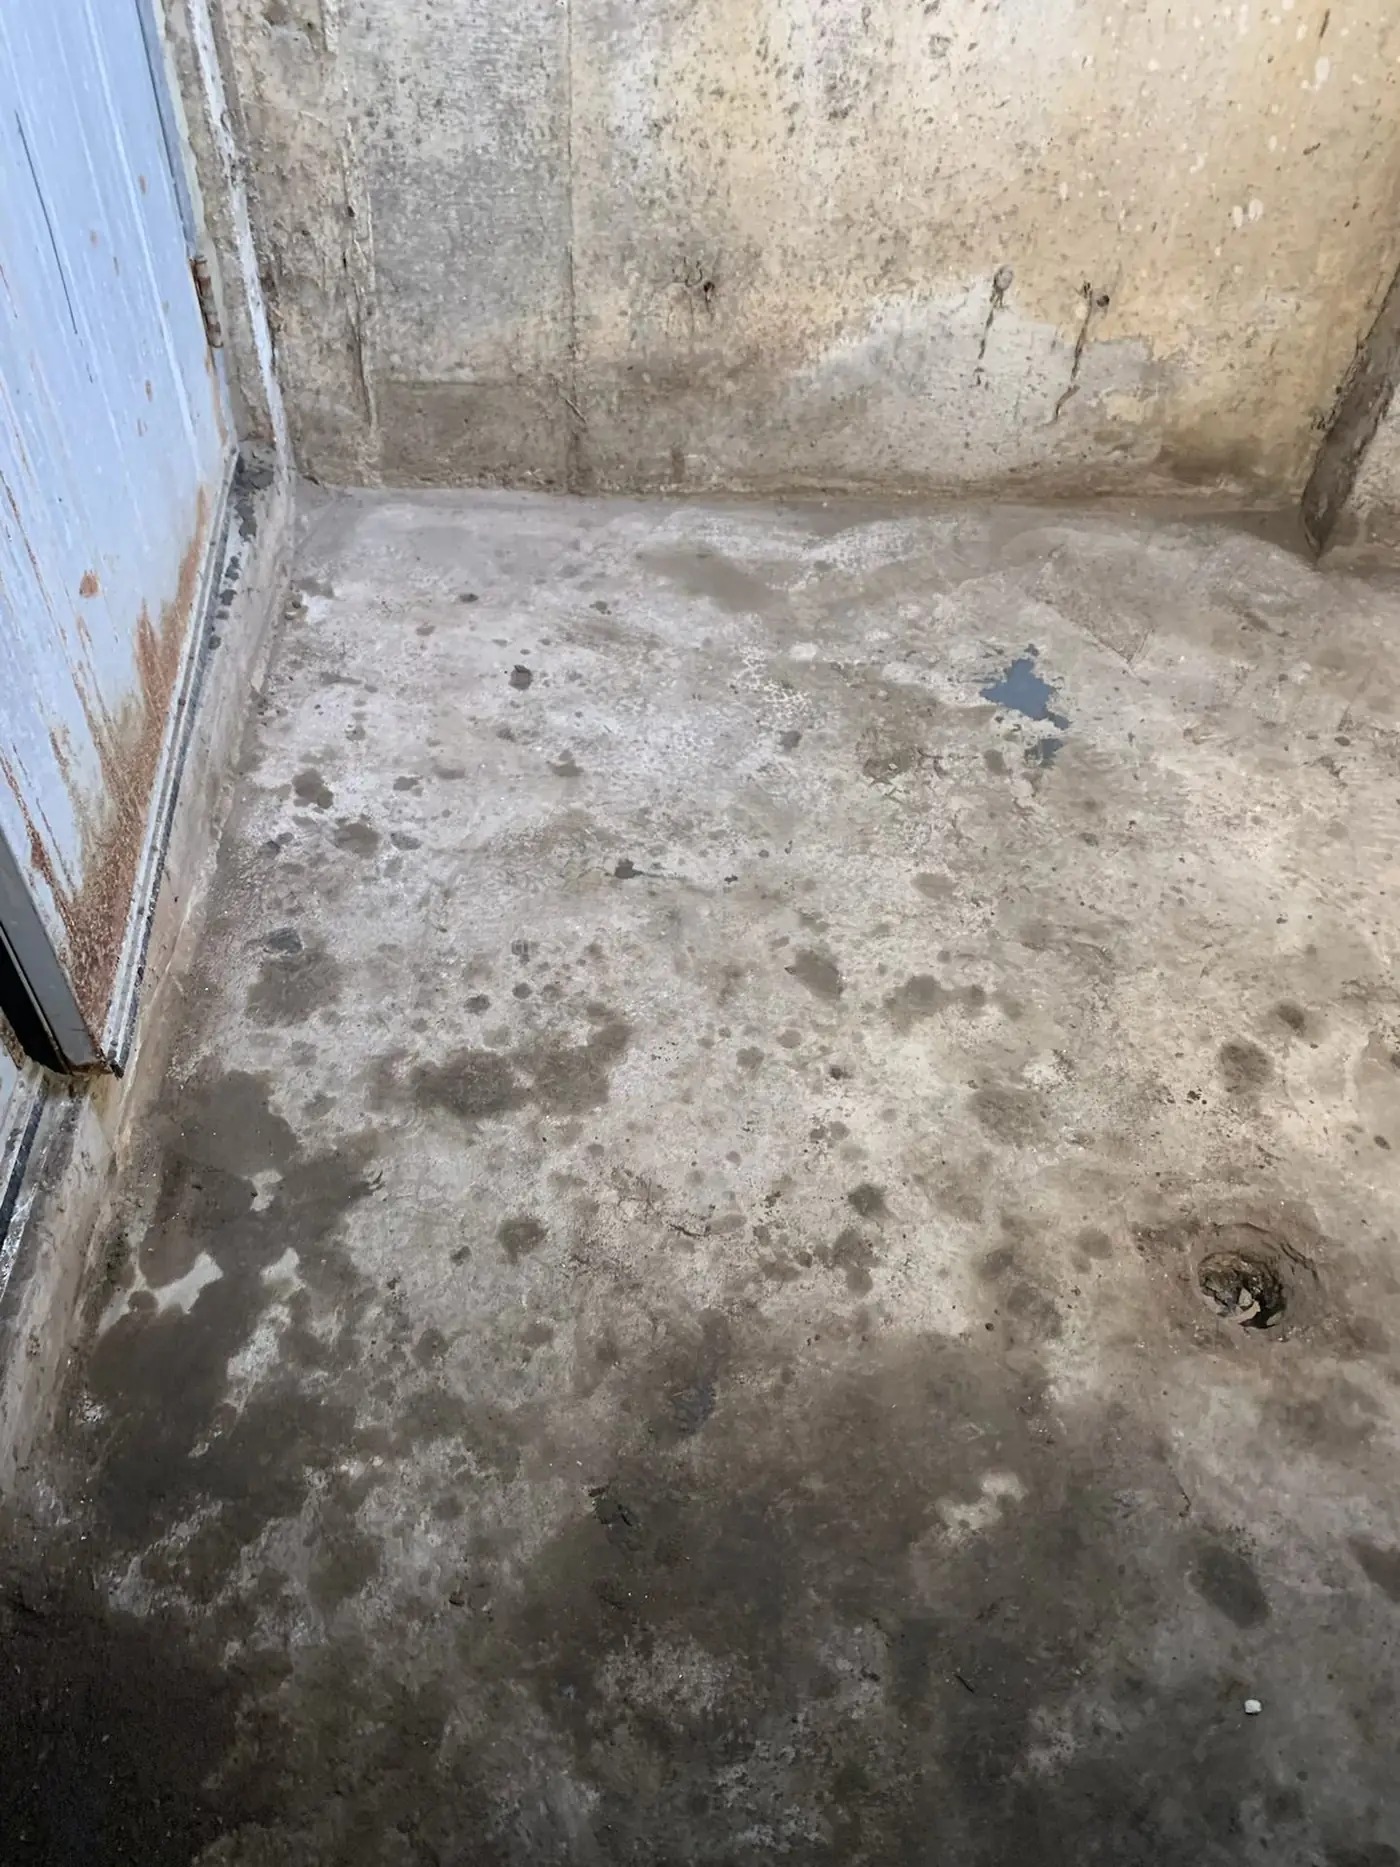
Exterior waterproofing stops water at the outside face of the wall, renews the weeping tile and protects the concrete itself, but needs excavation, access and landscape restoration. Interior waterproofing works from inside, causes less disruption outside and can be done in winter, but relies on a pump and does not keep the wall itself dry. Many good repairs use both: an exterior repair on the worst wall, an interior drain where the outside is blocked, and simple grading and downspout work everywhere. Our city guides show how this plays out in Mississauga, Scarborough, Vaughan and Oakville.
Looking after the system
Check the pump every season by pouring water into the pit and watching it start and stop. Keep the lid on, so debris and small objects stay out. Make sure the discharge outlet is clear of snow and ice in winter and that it releases water well away from the house. Test the battery backup once or twice a year. If the pump runs often in dry weather, call us: something has changed.
Frequently asked questions
Does interior waterproofing stop water from entering the wall?
No. It manages water that gets through the wall or under it and carries it to a sump, so the room stays dry. Exterior waterproofing is the method that keeps water off the outside of the wall.
Is interior waterproofing a permanent fix?
It is a long-lasting system when installed properly, but it depends on a working sump pump. The pump needs checking, a battery backup is wise, and the discharge must stay clear in winter.
Can interior waterproofing be done in a finished basement?
Yes, but the wall finishes and flooring along the treated walls have to come off and be rebuilt. We price that removal and rebuild in the same quote.
Does it work for block foundations?
It is often used on block walls, because water in the hollow cores drains down behind the membrane. A block wall that is bowing needs structural repair first.
Will it protect against sewer backup?
No. Backup through the floor drain needs a backwater valve, installed by a licensed plumber. Many homes need both.
Need advice on a wet basement?
We inspect wet basements across Toronto and the GTA and tell you whether an interior system, an exterior repair or a simple fix outside is the right answer. Related reading: backwater valves and sump pumps, foundation crack repair and the basement renovation page.
Phone (365) 363-6995, email estimating@tgvconstructiongroup.ca, or tell us about your wet basement on the Get a Quote page.